1080×1920 Reels Cover Size: Center Safe Rules Creators Can Copy
Design your Reel cover at 1080 × 1920 pixels (9:16) and keep every headline, face, and logo centered. That one rule solves most cover problems creators run into. Instagram displays this cover differently depending on where someone sees it, whether that’s the Reels tab, someone’s home feed, or your profile grid, so the safest move is building for all three at once instead of just one.
TL;DR:
- Designing your Reel cover at 1080 × 1920 pixels ensures it looks sharp across all display areas, but safe zones should be within the central 60% to prevent cropping.
- Instagram crops covers differently depending on placement: full in the Reels tab, centered crop in feeds, and tighter in profile grids, requiring careful central alignment.
- Use bold fonts, high contrast, and keep critical elements like headlines and logos within the safe zone for maximum legibility across all crops.
- Export your cover in high-quality JPEG or PNG at 1080 × 1920 pixels in sRGB color space; avoid wider resolutions since Instagram re-encodes uploads down to its limits.
- You can change or replace your Reel cover anytime by editing your post and uploading a new image, with templates recommended to maintain consistency and prevent cropping errors.
Table of Contents
- Reels Cover Size Cheat Sheet: Pixels, Ratios, and Export Targets
- How Instagram Crops Your Cover Across the Reels Tab, Feed, and Grid
- Reel Cover Design Rules: Composition, Type, and Contrast
- How to Add or Change a Reel Cover
- Export Settings That Keep Covers From Looking Compressed
- Fixing Blurry, Cropped, or Stuck Covers
- Practitioner Tips: Templates and Testing Beat Guesswork
- Why Cover Size Is a Brand Decision, Not a Technical One
- Skip the Manual Resizing With Liminal
- Sources
- FAQ
Reels Cover Size Cheat Sheet: Pixels, Ratios, and Export Targets
Here’s the number you came for: 1080 × 1920 pixels at a 9:16 aspect ratio. That’s the recommended Instagram Reels cover size, and it matches the exact dimensions of the Reel video itself, so your cover and your content live in the same frame.
You don’t need a design degree to get this right. You need the right numbers in front of you.
- Reel and cover (primary): 1080 × 1920 px, 9:16
- Feed preview crop: 1080 × 1350 px, roughly 4:5
- Profile grid preview crop: 1080 × 1440 px, roughly 3:4
- Minimum practical width: 720 px (below this, expect softness)
- Technical upload floor: approximately 420 × 654 px, though you should never design this small
| Use case | Size (px) | Ratio | Notes |
|---|---|---|---|
| Reel cover (main) | 1080 × 1920 | 9:16 | Full canvas, design here first |
| Feed thumbnail | 1080 × 1350 | 4:5 | Cropped from center |
| Profile grid thumbnail | 1080 × 1440 | 3:4 | Tighter crop, top/bottom trimmed |
| Practical minimum | 720 × 1280 | 9:16 | Avoids visible blur |
| Absolute floor | ~420 × 654 | 9:16 | Technically accepted, not recommended |
Keep your source file at 1080 pixels wide and export in the sRGB color space. There’s no upside to going wider. Instagram compresses everything down to its own ceiling anyway, so extra resolution just slows your export without improving what viewers actually see.
How Instagram Crops Your Cover Across the Reels Tab, Feed, and Grid
This is where most covers fall apart, and it’s not because creators picked the wrong size. It’s because they designed for one screen and got surprised by three.
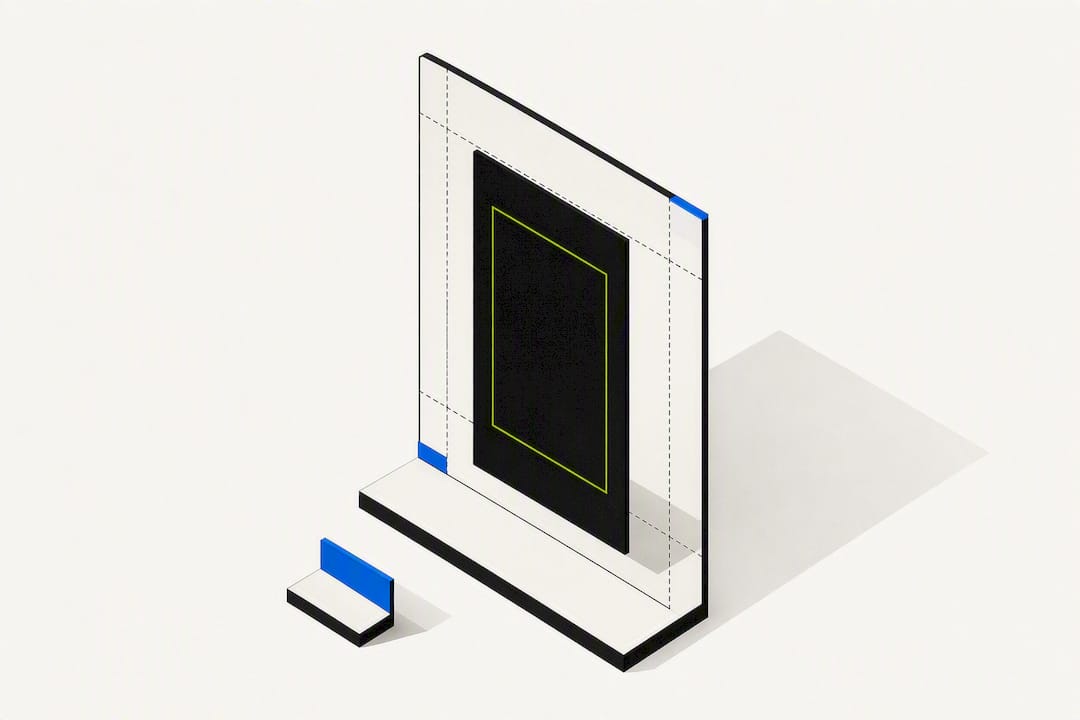
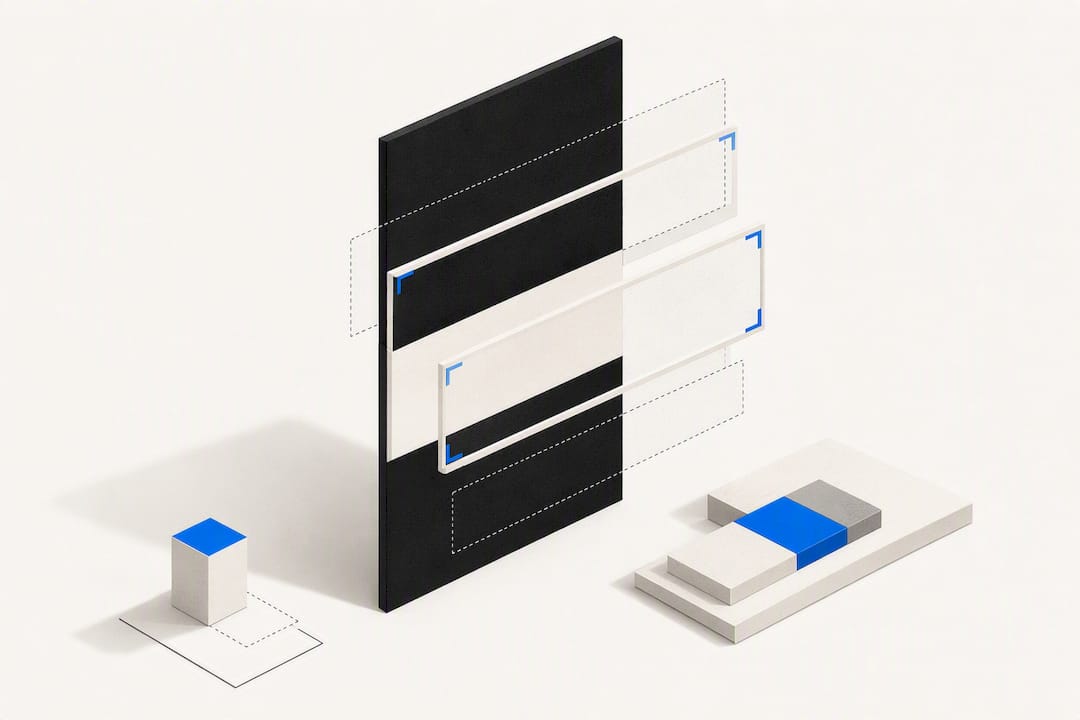
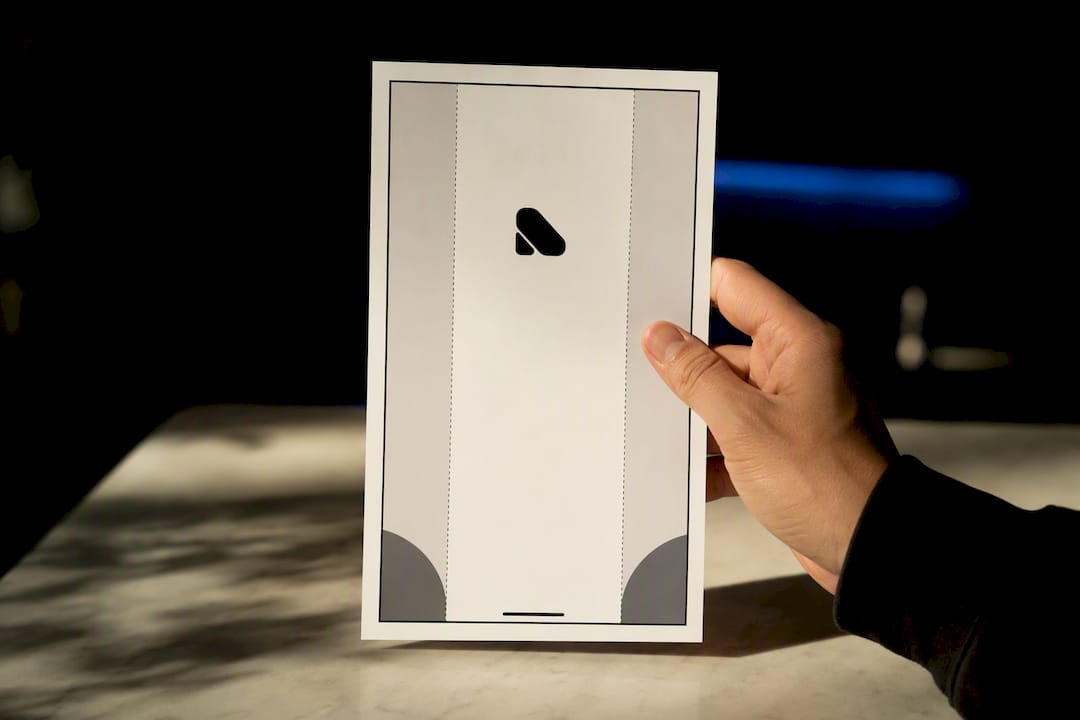
Inside the Reels tab, your cover shows at full 9:16, no cropping, exactly what you uploaded. But the moment that same Reel shows up in someone’s home feed, Instagram center-crops it to roughly 4:5. Land on your own profile grid, and the crop tightens further to about 3:4.
The pixel math: on a 1080×1920 canvas, feed and grid crops trim roughly 240 to 285 pixels from the top and bottom combined, depending on which surface is displaying it. That’s not a rounding error. That’s enough to slice off a headline sitting too close to the top edge or clip a face positioned too low.
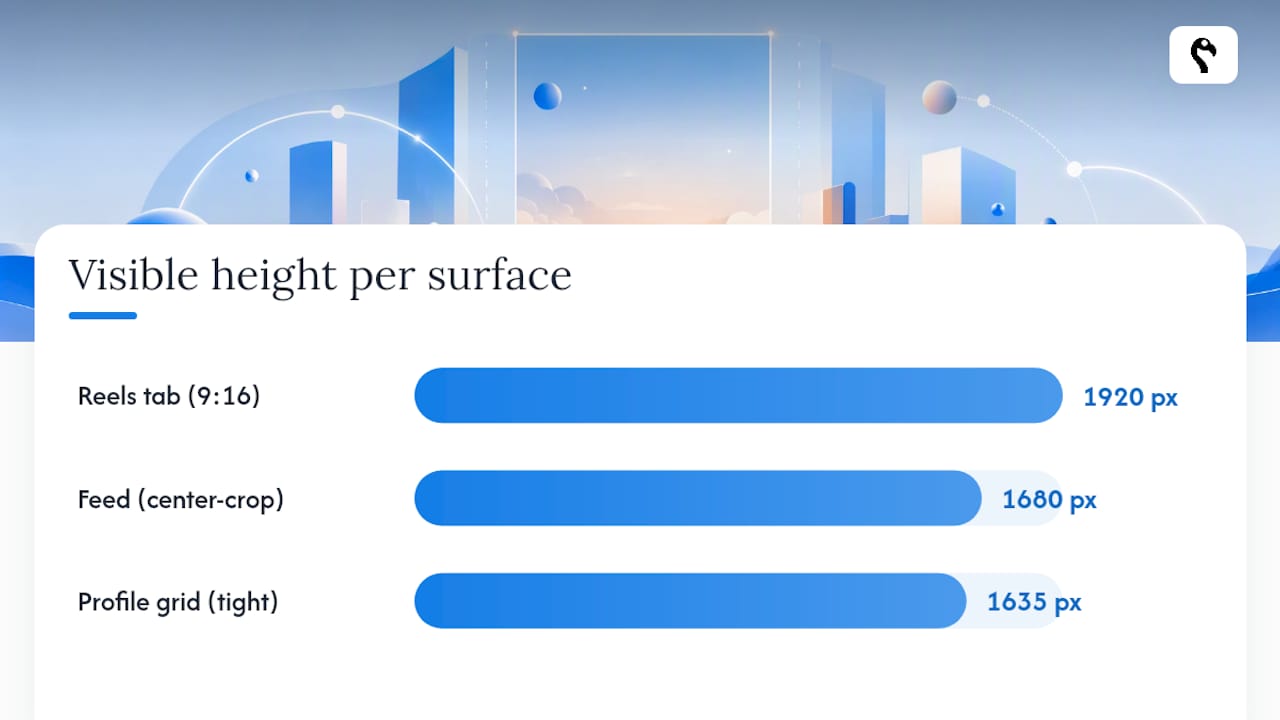
The fix is a safe zone. Take your 1080×1920 canvas and identify the center band that survives every crop, the area that’s still visible whether someone’s scrolling the grid or watching in the Reels tab. Designers generally recommend keeping headlines and branding inside the central 60% of the frame, which lines up almost exactly with what the grid crop leaves untouched.
Quick reference for what to center:
- Headline text: dead center, never within 150 px of the top or bottom edge
- Faces: eye line should sit roughly in the middle third of the canvas
- Logos: small, and placed where they won’t collide with the view count overlay in the bottom corner
Pro Tip: Design to the tightest crop first (the profile grid), then check your full 9:16 view second. If it looks good cropped, it’ll look great uncropped. Do it backwards and you’ll keep getting blindsided.
Reel Cover Design Rules: Composition, Type, and Contrast
Getting the size right is step one. Getting people to actually tap on your Reel is step two, and that comes down to design choices most creators skip past.
Center-weighted composition isn’t optional once you understand the crop math above. Anything critical, your hook, your subject’s face, your call to action, belongs in that middle band that survives every crop.
Typography rules that actually hold up at thumbnail size:
- Use bold, heavy-weight fonts. Thin fonts disappear at grid size.
- Aim for text large enough to read when the whole image shrinks to roughly one-third of your phone screen width, that’s the profile grid size.
- Add a subtle outline or drop shadow behind text if your background has any texture or busy detail. Flat text on a photo background is the number one cause of “I can’t read this” thumbnails.
Color and contrast matter more than most creators think. A cover that looks fine on your studio monitor can vanish on a phone set to low brightness in daylight. Pick high-contrast palettes: dark text on light backgrounds or vice versa, never mid-tone on mid-tone. If your background photo is busy, add a solid color block or a soft blur behind your text rather than fighting the image for legibility.
Branding placement is its own small puzzle. Your logo needs to survive the grid crop, so keep it inside that same center band, not tucked into a corner that’s about to get sliced off. It also needs to avoid competing with Instagram’s own UI, the Reels play icon and the view count that sit in the lower corners of every thumbnail. A small logo placed upper-center usually threads that needle better than a bottom-corner placement.
How to Add or Change a Reel Cover
Getting your cover into the app is the easy part once your file is ready. Here’s the exact flow.
Before you publish:
- Export your cover as a 1080×1920 JPG or PNG using the design rules above.
- In the Reels post flow, tap Edit cover.
- Choose Upload to bring in your custom file, or Pick frame if you’d rather grab a still from the video itself.
- Preview it against the profile grid layout before you hit publish. Most editing screens show you this preview automatically.
After you’ve already published:
- Open the Reel from your profile.
- Tap the three dots menu and select Edit cover.
- Upload a new custom cover or pick a different frame. You can swap your cover any time without touching the video itself.
If you’re designing on desktop: build your cover in whatever tool you use there, export it at the right size, then transfer the file to your phone before uploading. Trying to design directly on a phone screen makes it nearly impossible to judge whether your text actually fits the safe zone.
Export Settings That Keep Covers From Looking Compressed
A cover sized correctly can still look muddy if you export it wrong. This is the part creators skip, and it shows.
For image covers: use JPEG at high quality for anything photo-based, and PNG when your cover leans on crisp text or flat graphic elements, PNG handles sharp edges better without introducing compression noise. Export at 1080×1920 and stay in sRGB color space. Skipping the color profile step is a common reason covers look slightly washed out or shifted after upload.
For video-based Reels: export as MP4 using the H.264 codec, at 1080×1920, targeting a bitrate between 10 and 15 Mbps for 1080p footage. Stick with 30fps as your standard frame rate, and only bump to 60fps when there’s genuine fast motion that needs it, action shots, quick cuts, that kind of thing.
One habit worth breaking: exporting wider than 1080 pixels “just to be safe.” Instagram re-encodes every upload down to its own internal ceiling, so a 4K export gets thrown away anyway. All you’ve done is create a bigger file that takes longer to upload for zero visible benefit. Name your file something descriptive, and skip embedding heavy metadata that can sometimes trigger extra recompression on upload.
Fixing Blurry, Cropped, or Stuck Covers
Something looks off after you post. Here’s how to diagnose it fast instead of starting the whole design over.
- Cover looks blurry or soft: re-export at the full 1080×1920 size using high-quality JPEG or PNG. Blur almost always traces back to a small source file getting stretched, or an image that’s already been compressed once and is now getting compressed again.
- Crop is hiding your headline or logo: this means your design wasn’t center-weighted. Redesign with the key elements pulled into that middle safe zone, then re-upload through Edit cover.
- Cover won’t update after you changed it: clear your app cache, then re-save the post. If that doesn’t work, go back into Edit cover and try the upload again. Also worth checking: whether your Instagram app needs an update, older versions sometimes lag on rendering new cover changes.
- Cover looks fine in editing but wrong once live: test on more than one phone and at different brightness levels. What reads clearly on your device at full brightness might wash out on someone else’s screen in daylight.
Practitioner Tips: Templates and Testing Beat Guesswork
Creators who post daily don’t redesign covers from scratch every time. They build a template once with the safe zone locked in, then swap the photo or headline for each new Reel. That single habit eliminates most cropping mistakes before they happen.
Cover swapping is also underrated as a growth lever. Custom, optimized thumbnails consistently outperform auto-selected video frames on tap-through rate, so if a Reel is underperforming, changing the cover costs nothing and takes thirty seconds. Try a different hook, a different facial expression, a different color block.
Always run your final design through the in-app profile grid preview before you publish. It’s the fastest gut check you have, and it catches crop problems your eye might miss on the full-size canvas.
Why Cover Size Is a Brand Decision, Not a Technical One
Most creators treat cover sizing as a chore, a box to check before hitting publish. That’s backwards. Your cover is the first thing anyone decides on before they ever press play, and a consistent, correctly sized cover across every Reel builds a visual signature your audience starts recognizing without reading your name.
Treat covers as replaceable, not permanent. Run small experiments. Change one cover, watch how it performs against the last five Reels you posted, and let that data shape your next design instead of your gut feeling. The creators who grow fastest aren’t the ones with the fanciest graphics. They’re the ones who test constantly and keep what works.
Get the pixels right once, build a template around it, and stop reinventing the wheel every single post.
— Jonty
Skip the Manual Resizing With Liminal
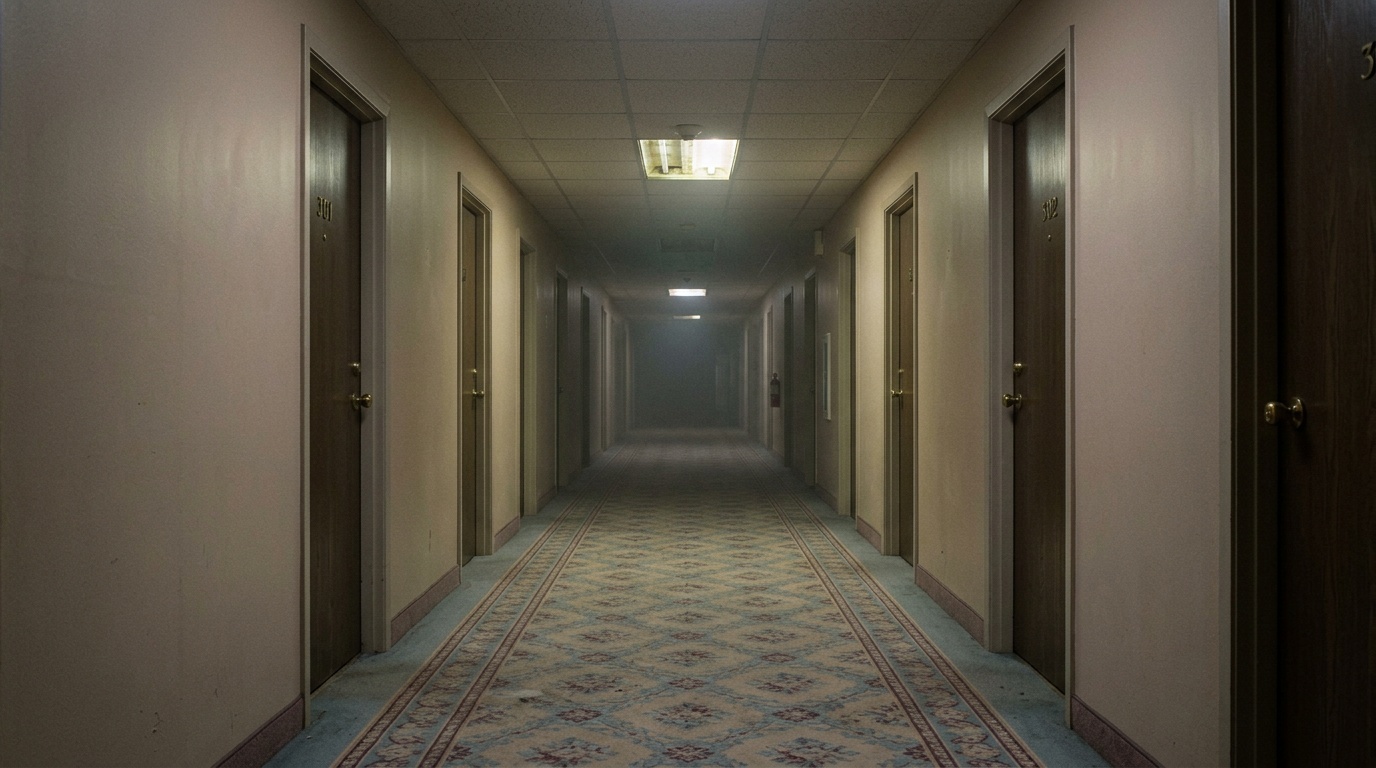
Liminal cuts the part where you’re fighting Photoshop at midnight trying to figure out why your cover looks cropped wrong on the grid. Pick a trending template built in the dreamcore and liminal spaces style, drop in your own footage or style, and the output lands platform-ready for Reels, TikTok, and YouTube Shorts, safe zones and all.
No prompt writing, no guessing at export settings, no re-uploading five times because the crop hid your headline. The templates are built around the same center-weighted rules covered above, because they’re built from formats that already work. If you’re tired of manually checking pixel math every time you post, start with Liminal and let the template handle the technical part while you focus on the content.
Sources
- The ultimate Instagram Reels cover guide (+ free templates)
- Instagram Reels Cover Size & Safe Zones
- Instagram Reels size and dimensions: the 2026 spec guide · Cadenus
- MeetEdgar — Instagram Reels cover guide
FAQ
Is an Instagram Reel 4:5 or 9:16?
The Reel itself and its cover are 9:16 (1080 × 1920 px). Instagram only shows a 4:5 crop when that Reel appears in someone’s home feed, not in the Reels tab or on the original upload.
What size should a Reel cover be?
The recommended Reel cover size is 1080 × 1920 pixels at a 9:16 aspect ratio, matching the video’s own dimensions exactly.
Are Reels 1920x1080?
No, that’s the landscape version of the same pixel count reversed. Reels use a vertical 1080 × 1920 frame (9:16), not horizontal 1920 × 1080.
What is the recommended cover size for Instagram Reels in 2026?
The spec hasn’t changed: 1080 × 1920 pixels at 9:16 remains the standard, with a practical minimum around 720 × 1280 px to avoid soft or blurry thumbnails.
Can I change my Reel cover after posting?
Yes. Open the Reel, tap the three dots, and select Edit cover to upload a new image or pick a different frame without touching the video itself.