The right reels aspect ratio is 9:16, exported at 1080×1920 pixels. That’s it. That’s the size that fills the whole screen, avoids ugly black bars, and doesn’t get cropped by Instagram’s algorithm. Keep your important stuff (faces, text, logos) centered, away from the top and bottom edges, and export as an MP4. Everything else in this guide is detail.
TL;DR:
- Films intended for Instagram Reels must be exported at 1080×1920 pixels with a 9:16 aspect ratio to avoid cropping or black bars.
- Keep important visual elements and text within the central safe zone of roughly 1080×1420 pixels, avoiding the top 250 px and bottom 350 px zones covered by UI.
- Reframe and upscale footage shot in landscape or with lower resolution sources during editing, not after upload, to prevent quality loss and undesired cropping.
- Export using MP4 or MOV at 30 fps (or 60 fps for heavy motion), with a bitrate around 5-8 Mbps, avoiding newer codecs like HEVC for better re-encoding.
- Using pre-made templates that start on a 1080×1920 canvas helps ensure correct aspect ratio, safe zones, and consistent framing, reducing post-export editing fixes.
Table of Contents
- Reels Dimensions and Specs You Need Before You Hit Export
- Safe Zones: What Not to Hide Behind the UI
- What Happens When Your Footage Isn’t 9:16
- Export Settings That Actually Survive the Upload
- Fixing Reels That Look Wrong After You Post
- How Liminal Builds Reels-Ready Files From the Start
- The Spec Sheet Isn’t the Hard Part
- Sources
Reels Dimensions and Specs You Need Before You Hit Export
Set your project canvas before you touch a single clip. The canonical spec is 1080×1920 px at a 9:16 ratio, and Instagram’s own help center confirms vertical video is what the platform is built for. This size uses the full phone screen. No letterboxing, no wasted pixels, no viewer thumb-scrolling past your content because it looks like a leftover YouTube upload.
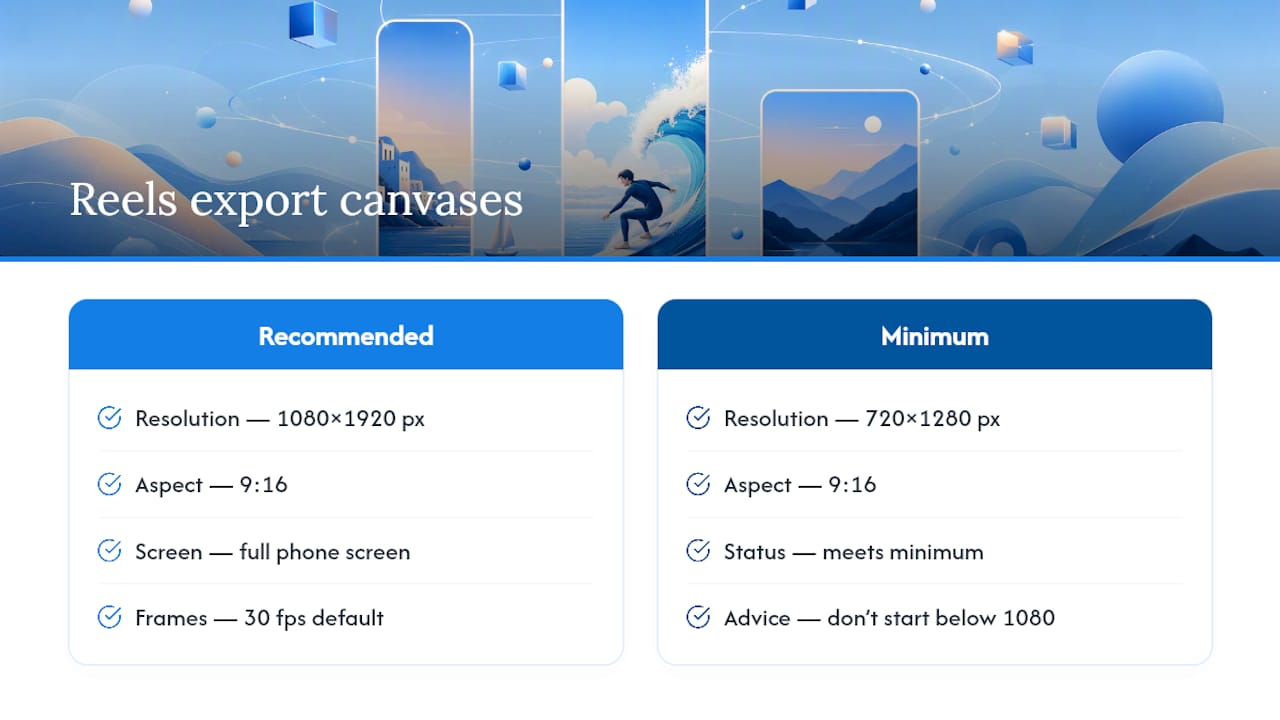
You can go as low as 720×1280 and still meet the minimum, but don’t. Guides updated for 2026 point out that Instagram re-encodes almost everything on upload, so starting below 1080 wide just gives the algorithm less to work with and hands you a softer final video.
Sixty frames per second is fine for fast cuts or motion-heavy edits, but 30 fps is the safe default for everything else.
Safe Zones: What Not to Hide Behind the UI
Instagram’s interface sits on top of your video, and that means chunks of your frame get covered no matter how good the footage is. Two zones matter most.
- Top ~250 px: reserved for the username, audio track, and status icons.
- Bottom ~350 px: reserved for the caption, like/comment/share buttons, and the “see more” link.
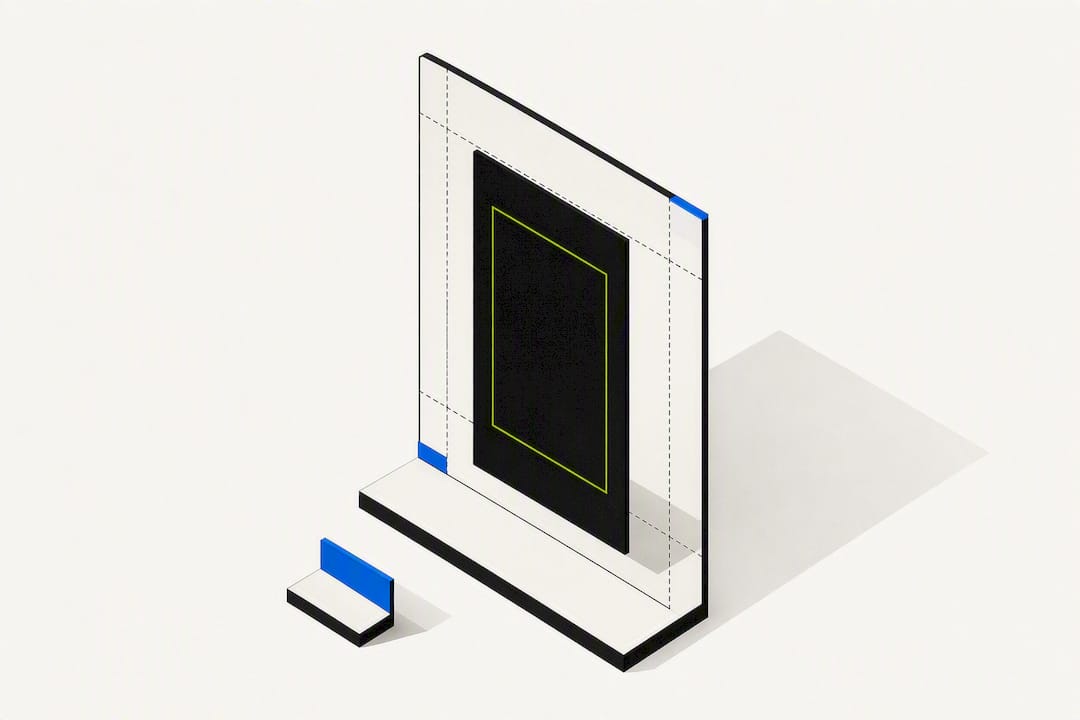
- Center safe area (roughly 1080×1420): this is where your subject, text, and key visual info should live.
The Reels tab shows your full 9:16 frame, but your profile grid crops previews down to roughly 3:4. That means the cinematic wide shot that looks perfect in the feed might chop off a head or a title card on your own profile. Buffer’s 2026 sizing guide makes the same point: build for the center, not the edges, because the edges get eaten in at least one view of your video.
Pro Tip: Drop a test grid over your timeline in your editor at export time. If your title text sits anywhere in that top 250 px or bottom 350 px, move it before you render, not after Instagram’s already cropped it for you.
What Happens When Your Footage Isn’t 9:16
Upload a square or landscape clip and Instagram doesn’t just leave it alone. Portrait footage that’s close to vertical, like 4:5 or 3:4, usually gets center cropped to fit the frame. Horizontal footage, like anything shot at 16:9, gets pillarboxed with black bars on the sides, or in some cases cropped hard from the sides in, which can slice off exactly the part of the shot you wanted people to see.
Here’s how to handle it depending on what you’re starting with:
- 4:5 or 3:4 footage: acceptable for regular feed posts, but re-export to 9:16 specifically for Reels rather than letting Instagram crop it for you.
- 16:9 horizontal footage: reframe and rescale the shot, add a branded pillarbox background instead of a plain black bar, or reshoot with a vertical composition in mind next time.
- Low-resolution source footage: if your original width is under 1080 px, don’t force an upscale. Stretching a 720 px clip to fill a 1080×1920 canvas is where most “why does my Reel look blurry” complaints start.
The fix is almost always the same: convert 16:9 to 9:16 at the editing stage, not at the upload stage, so you control the crop instead of letting Instagram guess.
Export Settings That Actually Survive the Upload
Instagram compresses everything you upload. The goal isn’t to avoid that entirely, it’s to hand the platform a file clean enough that its compression doesn’t wreck it. Follow this order:
- Container and codec: export as MP4 or MOV using video and AAC audio. These are the formats Instagram’s own systems are built to expect.
- Resolution: lock it to 1080×1920. Recent size guides note that exporting wider than 1080 gains you nothing since Instagram caps it there anyway.
- Bitrate: aim for roughly 5 to 8 Mbps at 1080p. Too low and you get visible blocking during motion; too high just adds upload time for zero visual benefit.
- Frame rate: 30 fps for standard content, 60 fps only if your footage has heavy motion, and understand that Instagram doesn’t guarantee it preserves that higher rate through its own processing.
- Avoid HEVC and other newer codecs. Stick with a stable bitrate setting rather than a codec that looks great on your timeline but chokes during re-encoding.
Pro Tip: Before uploading a finished project, export and post one 5 second test clip first, especially on a new device or after switching editing software. It’s ten seconds of your time versus finding out your whole Reel looks like a compressed screenshot after 10,000 people have already seen it.
Upload on a strong, stable connection. A spotty connection can force a lower-quality re-upload behind the scenes, and repeated compression across multiple saves and re-exports stacks quality loss every single time.
Fixing Reels That Look Wrong After You Post
Something looking off after upload almost always traces back to one of four causes.
- Subject gets cropped out of frame. Re-export the source at 9:16 instead of relying on Instagram’s auto-crop, and reposition your subject inside the center safe zone before you render again.
- Video looks soft or blurry. Check your source width. If it’s under 1080 px, you’re upscaling, and no bitrate setting fixes that. Re-export from the original footage at full resolution with a healthier bitrate.
- Cover thumbnail shows the wrong crop on your profile. Don’t rely on a random frame grab. Export a dedicated 1080×1920 cover image with your key visual centered, so it survives the crop down to the grid’s roughly 3:4 view.
- Audio stutters or drops out of sync. This is usually a codec or sample-rate mismatch. Re-encode the audio track at a standard sample rate (48kHz is the safe default) paired with AAC.
Most of these trace back to the same root cause: skipping the safe zone and resolution rules at export, then trying to patch the problem after the fact.
How Liminal Builds Reels-Ready Files From the Start
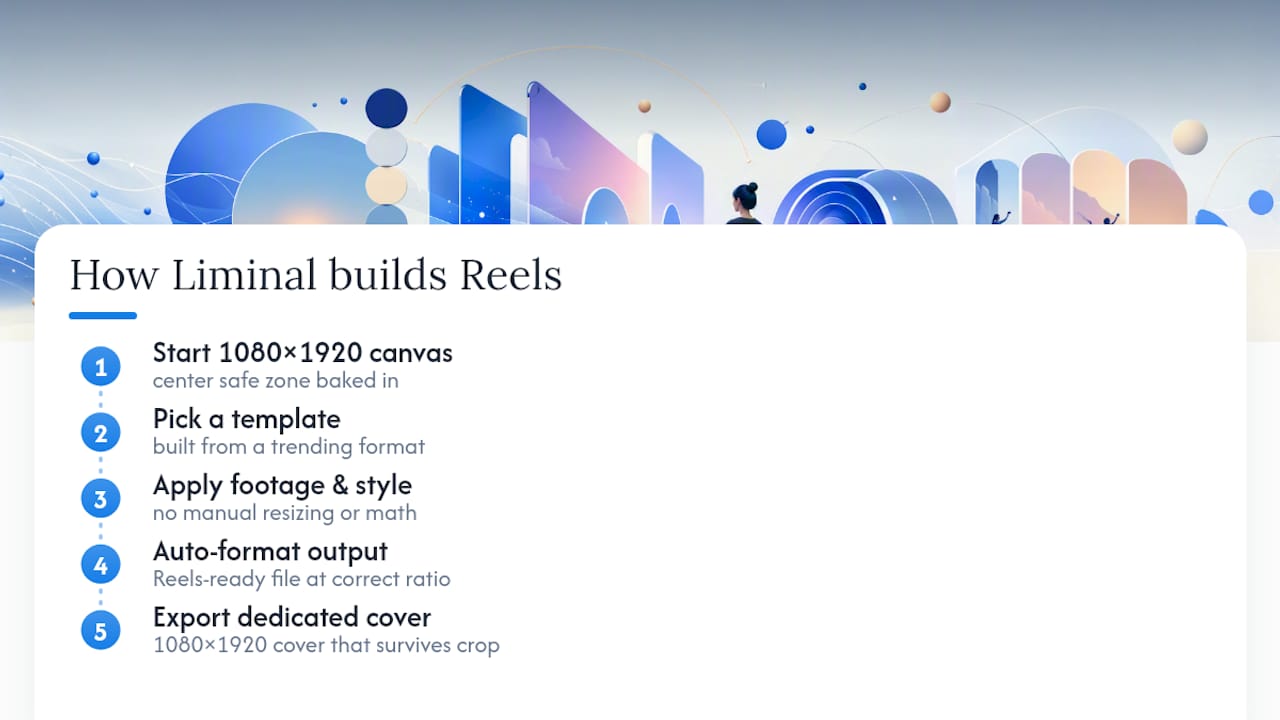
Getting the aspect ratio right shouldn’t require a spec sheet every time you sit down to edit. That’s the whole point of building on a 1080×1920 canvas from the first click instead of fixing it in post.
Liminal’s templates start on that exact canvas, with the center safe zone baked into the layout before you add a single clip. Pick a template built off a trending format, apply your own footage and style, and the auto-format step outputs a Reels-ready file at the right resolution, ratio, and safe-zone layout automatically. No re-exporting three times because your title card got clipped by the caption bar.
Templates also generate a dedicated cover export alongside the video itself. That matters because your video’s center-safe framing for the Reels tab isn’t always the strongest still frame for your profile grid. A dedicated cover, built separately at 1080×1920 with the focal point centered, survives that grid crop down to roughly 3:4 far better than a random frame grab does. Use an in-video title card when the text needs to move with the content; use a dedicated cover export when you need one strong, static image to represent the whole Reel on your grid.
Most of the “why does my Reel look off” questions in this guide disappear when the template handles the math before you start editing. Get started on Liminal and build your next Reel on a canvas that’s already sized right.
The Spec Sheet Isn’t the Hard Part
Every creator eventually learns the 1080×1920 number. That part of this topic has been settled for years and isn’t really where people lose Reels performance. The gap is between knowing the number and actually building a repeatable export habit around it.
Most advice on this topic treats aspect ratio like a one-time fact to memorize instead of a constraint that should shape every editing decision from the first cut. The creators who consistently avoid crop and blur problems aren’t the ones who read a spec guide once. They’re the ones who start every project already inside the 9:16 frame with the safe zone respected, so there’s nothing to fix after export.
If there’s one place conventional advice falls short, it’s treating cover thumbnails as an afterthought. A miscropped cover undermines a perfectly good video before anyone even taps play. Prioritize the frame you build in, not just the frame you export to.
— Jonty